Git export
Create an audit trail by exporting your Hex projects and components to a Git repository.
- Available on the Team and Enterprise plans
- Users will need the Admin role to set up Git export repositories.
- Users will need Can Edit permissions or higher to enable Git export for a project.
Hex projects and components can be exported to a Git repository. Hex projects are represented in Git repos as YAML files that describe the logic and configurations of each cell, as well as information about your app layout. You can read more about the file format here.
This feature lets teams keep a copy of their code outside of Hex, allowing users to track changes over time and audit code as needed.
When using this feature, it is recommended to set up a connection to a dedicated repository used only for exporting Hex projects. Since Hex merges commits on behalf of the user who is publishing a project, this feature is not compatible with repositories that use branch protection. The repository must allow users to merge commits without requiring a review.
Hex projects can be exported to a Git repo on a per-project basis. Once Git export is enabled for a project, publishing a version will create a merge commit on the specified publish branch.
Supported Git Providers
The following Git providers are supported:
| Git Provider | Notes |
|---|---|
| GitHub | Repositories must be hosted on github.com |
| GitHub Enterprise Server | Available for Hex workspaces on the Enterprise plan |
| GitLab | Repositories must be hosted on gitlab.com |
| Bitbucket | Repositories must be hosted on bitbucket.org |
Configuring a Git provider
Only Admins are able to set up Git export providers and repositories. The repository access must also be approved by a repository admin on the Git side.
- GitHub
- GitHub Enterprise Server
- GitLab
- Bitbucket
- Head to the Settings → Integrations → Git project export.
- Select + Git Provider, and select GitHub.
- Complete the app installation and OAuth flow in GitHub — you will be redirected back to Hex when completed.
Note that only one GitHub account can be connected to a given Hex workspace. Similarly, a given GitHub account can only be connected to one Hex workspace.
Workspaces on the Enterprise plan can export projects to repositories that are hosted on a GitHub Enterprise Server deployment.
If you're unsure whether your organization uses GitHub Enterprise Cloud or Server:
- Repos with a URL starting with
github.comshould use the regular GitHub integration - Repos with a custom URL will require the GitHub Enterprise Server integration
If your GitHub Enterprise Server deployment requires a VPN for connection, please contact [email protected] for assistance with this integration.
To configure a GitHub Enterprise Server connection:
- Head to the Settings → Integrations → Git project export.
- Select + Git Provider, and select GitHub Enterprise Server.
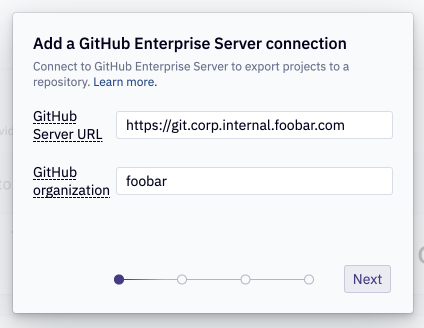
- Provide the GitHub Enterprise Server URL and Organization name, and then select Next.
- Use the Create GitHub App button to create a GitHub App on your GitHub Enterprise Instance.
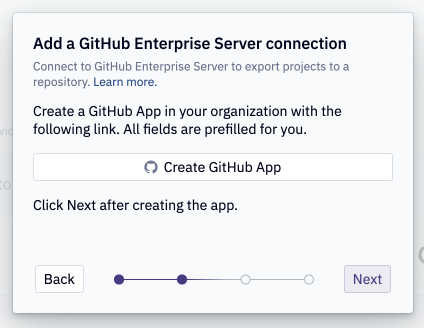
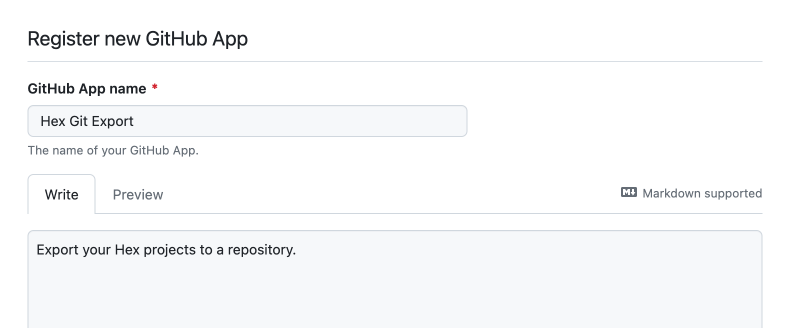
- You will be redirect to your GitHub Enterprise Server instance to create the app. All fields will be prefilled on the GitHub App creation form. Do not change any fields. You can view the required permissions of the app before creating it.
- After creating the GitHub App, generate a client secret for it. You will need the Client ID and the Client Secret in the next step.
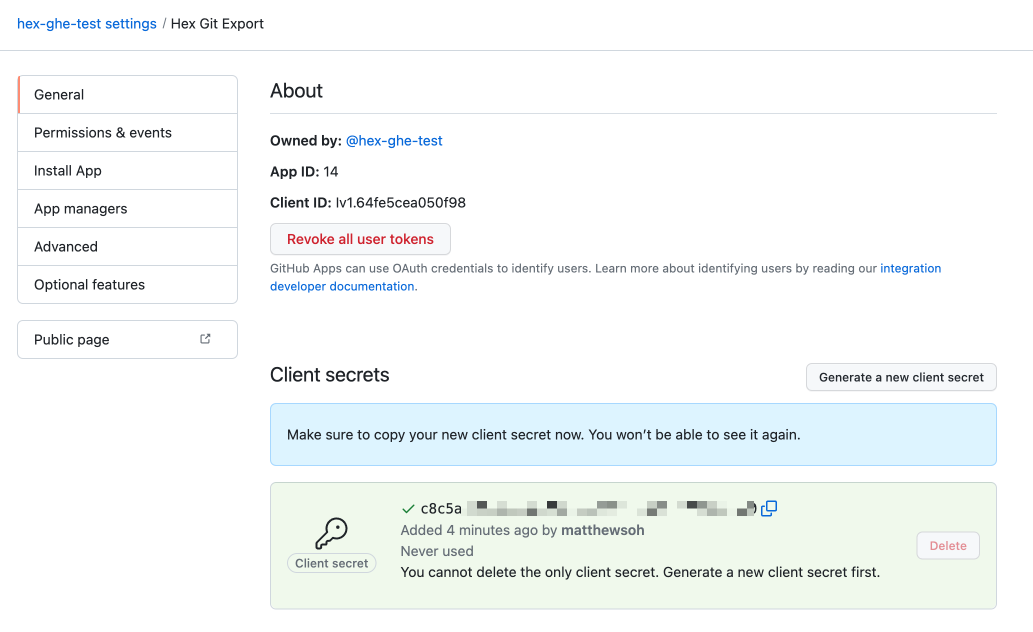
- Provide the Client ID and Client Secret to Hex, then authorize the App through the oAuth flow.
- Head to the Settings → Integrations → Git project export.
- Select + Git Provider, and select GitLab.
- Complete the app installation and OAuth flow — you will be redirected back to Hex when completed.
Note that only one GitLab account can be connected to a given Hex workspace. Similarly, a given GitLab account can only be connected to one Hex workspace.
To connect your Bitbucket account to Hex, you will first need to generate a Workspace Access Token.
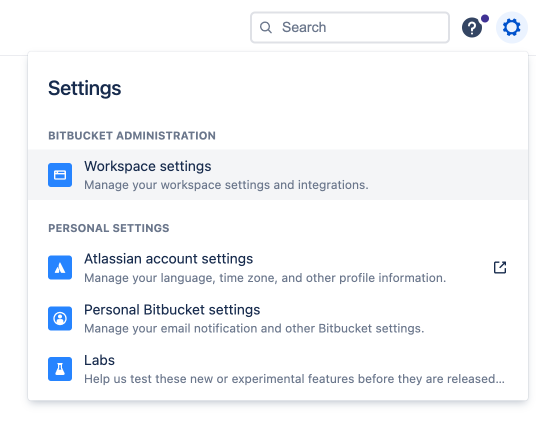
- In Bitbucket, find your Workspace settings page.
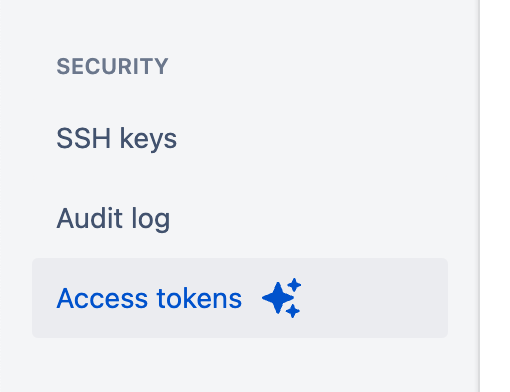
- Select the Access tokens page and create a new Workspace Access Token
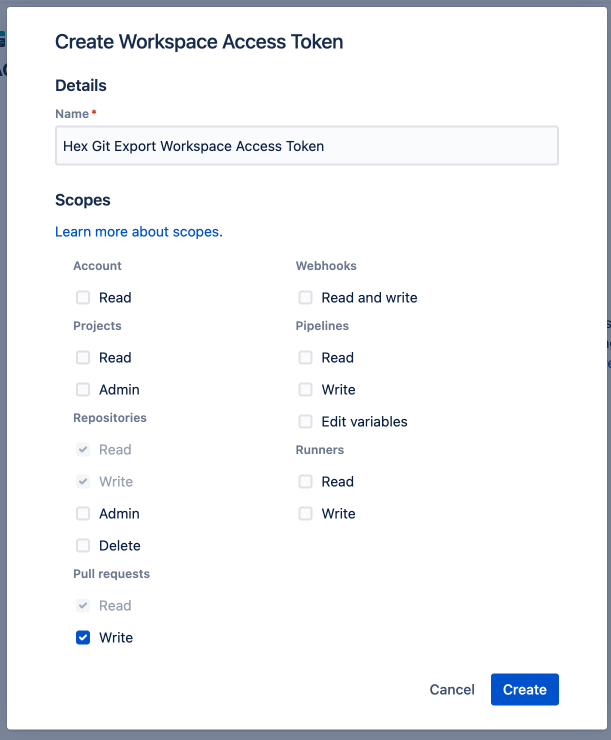
- Ensure that the following scopes are selected:
- Repositories:
- Read
- Write
- Pull Requests:
- Read
- Write
- Repositories:
- Copy the token to your clipboard — you'll need it in the next step.
Then connect to your Bitbucket account in Hex:
- Head to the Settings → Integrations → Git project export.
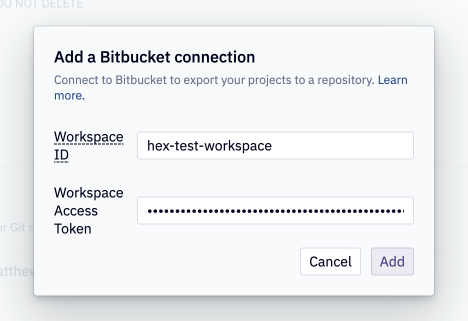
- Select + Git Provider, and select Bitbucket.
- Fill in the Workspace ID and Workspace Access Token field with the token created in the previous step
Configuring Git repos
Once a Git provider has been configured, choose which repositories are available as Git export targets.
- Add a repository using the "+ Repository" button
- Choose a publish branch: this is the branch that will reflect the published version of your app
- Choose which groups are able to write to the repository
Export a Hex project to a Git repo
To export a project to a repo:
- From the History & versions tab of the left side panel, turn on Git export. If multiple repos are enabled for your workspace, you will be able to choose which repo to export to.
- Choose a file path that you would like Hex to use as the name of the exported file. By default, Hex will choose a file path that matches your project name.
When you next publish your project, Hex will represent these changes as a commit on a branch, and merge the commits to your publish branch. These actions will use the current Hex user’s email as the author.
FAQs
Can I require Git export for all my projects?
Not currently; Git export must be enabled on a per-project basis.
What happens if I turn off Git export?
If Git export is turned off for a project, the file in Git will not be deleted. The commit history will remain in the repository.
What happens if I am not an admin on the repository I want to connect to Hex?
If you are not an admin on the repository you want to connect to Hex, you will not be able to add the repository until an admin of the repo approves the connection. If you are connecting to GitHub and do not have the appropriate access to a repository, the repo will have a "request" tag next to it when configuring access. This will send a request to the repository's admins to approve the connection.
How do I change the name of the file that I’m writing to?
If you would like to change the name of the file you are writing to, make sure to do so from Hex.
- In the Git export settings for your project, click the three-dot menu next to the repo and branch name.
- Update the file path you want to write to from Hex.
- Publish a new version.
Publishing will merge the commit to the new file path. The existing commit history will remain in the old path.
What happens if my repository uses branch protection?
Git export is not compatible with repositories that use branch protection or require reviews before merging commits. Turn these settings off on your repository in order to use this feature successfully.
How can I pull in external changes made in my Git repo?
At this time, Git export is one-way only.