General workspace administration
Manage users, groups, allowed domains, project statuses and categories, and environment settings for your workspace.
- Only workspace Admins can manage general workspace administration.
Users & Groups
Add and manage users
Admins can view all users in their workspace, add new users, and manage user roles from Settings > Users. Editors and Viewers can view but not edit workspace users.
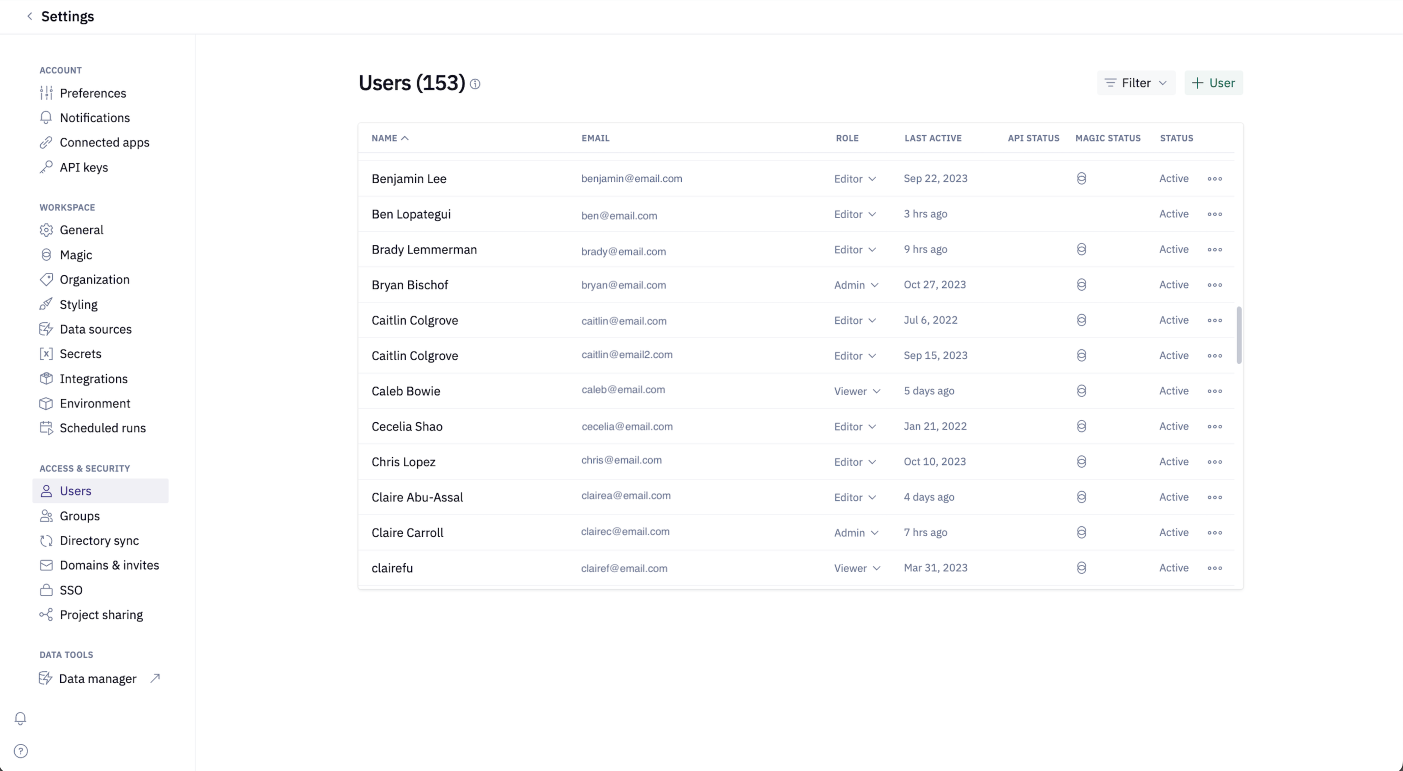
Admins can assign each user a role that defines what the user can access in the workspace, and what permissions they're allowed to have on projects and components.
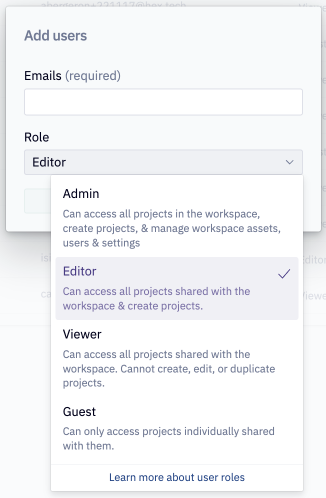
- Users assigned the Admin, Editor, or Viewer role are considered workspace members and can access any assets or resources shared with the workspace. (Learn more about roles and sharing.)
- Users assigned the Guest role can access only resources they're specifically invited to. (Learn more about the Guest role.)
There are a few different ways to add new users to your workspace:
- Add a new user manually through a workspace invite.
- Create an allowed domain to let anyone with the specified email domain join your workspace.
- Create a workspace invite link to let anyone with the link join your workspace.
- Configure directory sync with your active directory through Okta, Google, Azure, Rippling, and more.
New users can also be added to your workspace by way of a project invite.
Workspace invites
To invite users to your workspace, navigate to Settings > Users, and click + User.

Type or paste the email (or a comma-separated list of emails) you wish to add to your workspace. Then select a workspace role from the drop-down menu and click Add users. The invited user(s) will receive an invite email from [email protected] prompting them to join your workspace. You will see the invited user(s) appear in the Users list.
Allowed domains
Admins can add any number of allowed domains to their workspace. Adding an allowed domain lets anyone with an email address matching that domain (e.g. hex.tech) to discover and join your workspace. This enables you to grant a trusted organization access to your Hex workspaces without having to manually invite each individual person.
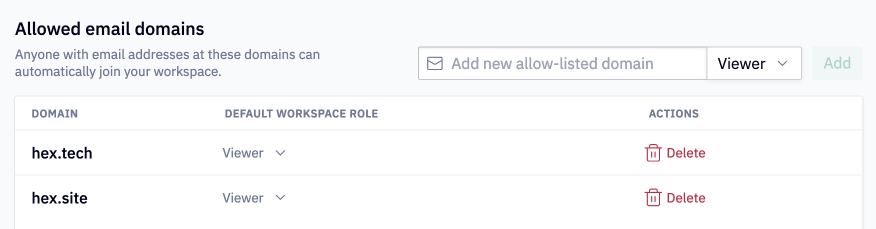
When you add an allowed domain, you will be prompted to specify the default workspace role that you would like to assign to users with that domain. This role can be changed for individual users once they have joined your workspace. Many Hex Admins prefer to create allowed domains with Viewer as the default role, and handle role promotion requests later on. If there are users who match the allowed domain who you know will require a different workspace role (e.g., Admins), you can invite that user individually via workspace invite.
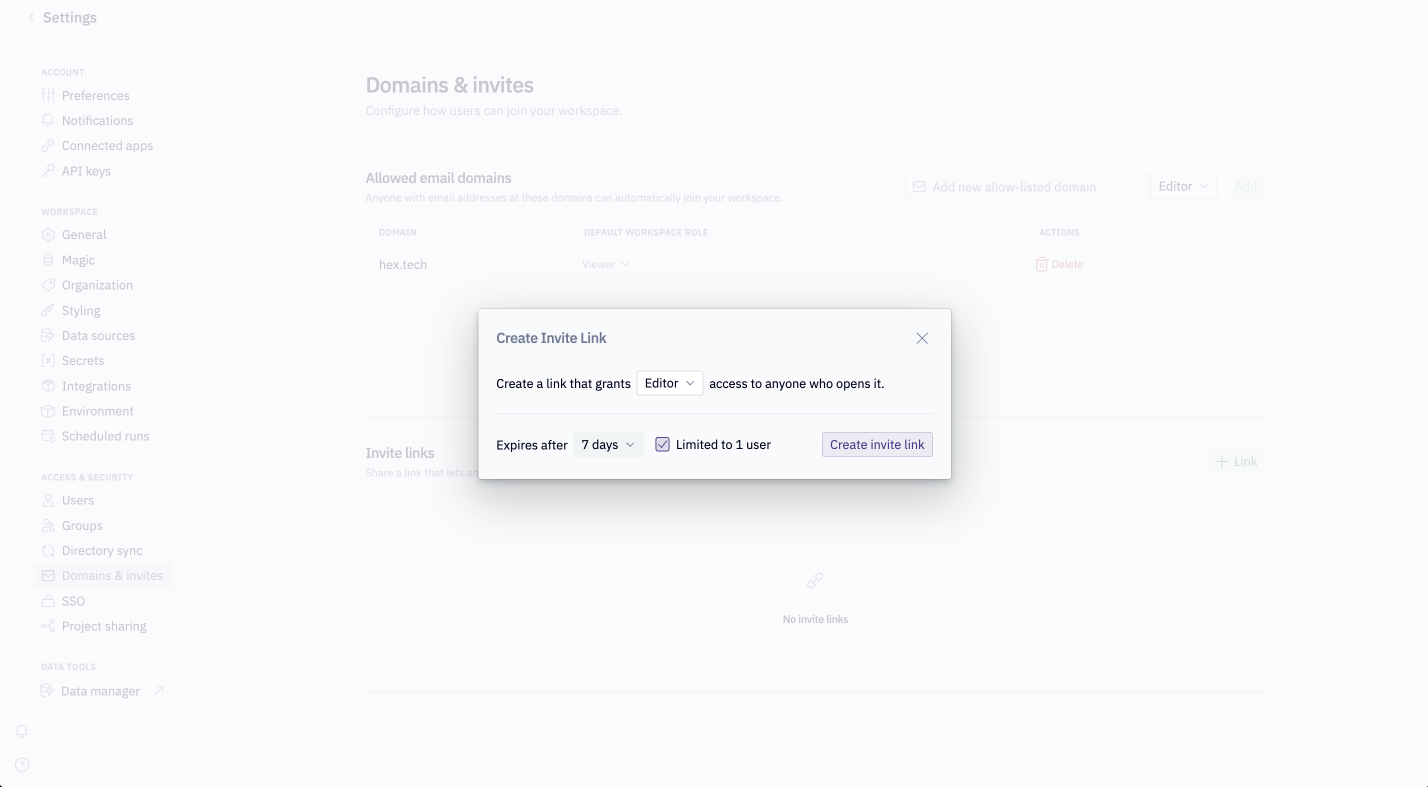
Invite links
Admins can create any number of workspace invite links. Workspace invite links allow anyone with the link to join your workspace with the specified role. By default, workspace invite links are set to expire 7 days after being created, and are limited to 1 user. After the first user, subsequent users will not be able to use the link to join your workspace.
Deactivate users
Admins can deactivate users from the Settings → Users tab, under the "Access & Security" header. Click the three-dot menu to the right of the user's name and select Deactivate. This will prompt you to transfer ownership of the deactivated user's projects.
Groups
- Available on the Team and Enterprise plans.
- Only workspace Admins can create and manage groups.
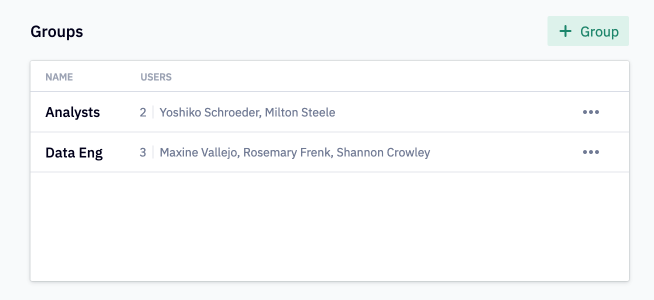
Groups are useful for creating sets of users who will frequently need the same access and permissions for shared data connections, secrets, projects, components, or collections. They are also useful for mentioning multiple users at once in a text cell or comment.
Admins can define subsets of users as a group in the Settings → Groups tab, under the "Access & Security" header. Add a group by clicking the + Group button, naming the group, and selecting users from the search bar at the bottom of the dialog. Individual users can appear in as many groups as desired.
Environment settings
Workspace timezone
Admins can set a workspace timezone in the Environment section of Workspace settings.
This timezone is the default target timezone used by chart cells and pivot cells when displaying timestamp values.
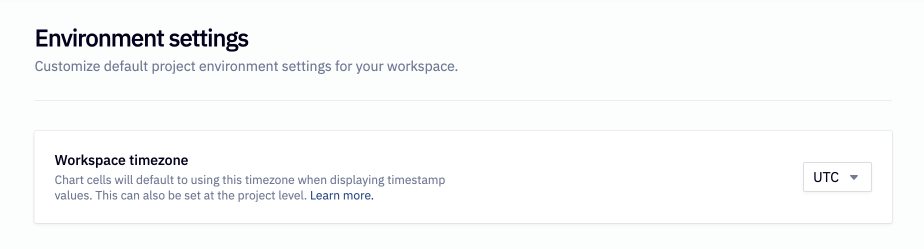
By default, this is set to 'UTC'. Typically, the value of an organization's head office should be chosen as the workspace timezone.
The workspace timezone setting can be overridden at the project-level, or per app session for published apps.
In increasing precedence, the target timezone used will be set by:
- Workspace timezone: This is the default target that all new projects will use.
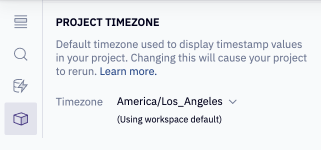
- Project timezone: The workspace timezone can be overridden by the project timezone, set in the Environment panel of the sidebar.
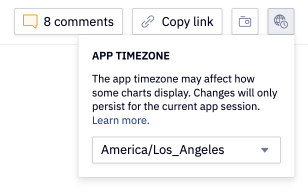
- App session timezone: When viewing a published app, the project and workspace timezone can be overridden for a specific app session in the top right hand corner of the app. Note: this only persists for the current app session — if you revisit the app in the future, the app will revert to the project timezone.
The target timezone is also represented in the hex_timezone built-in variable, which can be used to execute timezone-aware logic in both code and SQL cells.
Workspace SQL caching
Admins can adjust the default SQL caching policies for their workspace, with separate timeouts for developing logic and published apps. The default values defined here can be overridden at the project level. See our docs on SQL caching for more information.
Admins can disable this setting in order to prevent any user from using SQL caching in any of their projects.
Python Kernel Settings
Admins can set the default Python version that all newly created projects will use at creation.
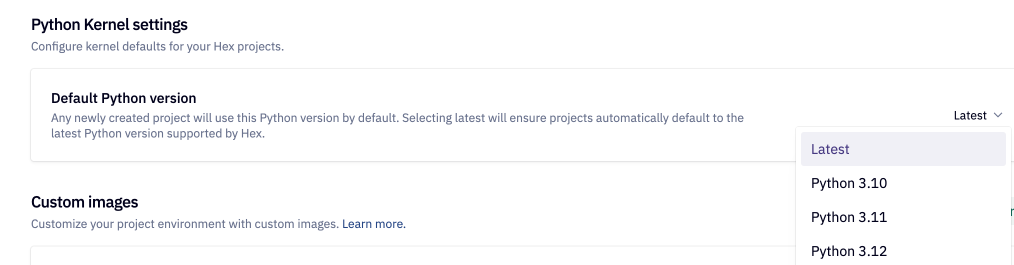
Selecting Latest will ensure that projects automatically default to the latest Python version supported by Hex.
Hex currently provides Python versions 3.10, 3.11, and 3.12. If your organization has Custom Images enabled, these will also be available to select as default.
Only Python 3.11 and 3.12 will be fully patched with the latest fixes for security vulnerabilities in third-party packages.