Publish and share Apps
Publish your project to make the latest version available in your App.
- Available on all pricing plans.
- Users will need Can Edit or higher project permissions to publish and share Apps.
Publish a version
Publishing a project version pushes the latest changes to your App. The first time you build an App, you must publish it to make it available.
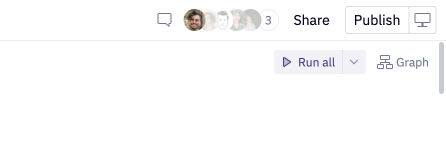
The Publish button on your project will be enabled anytime there are unpublished changes.
Preview and publish
Clicking the Publish button will open the Publish dialogue. This will kick off a run of your App to generate a live preview of the changes. While the preview is loading, the primary button will say Running.
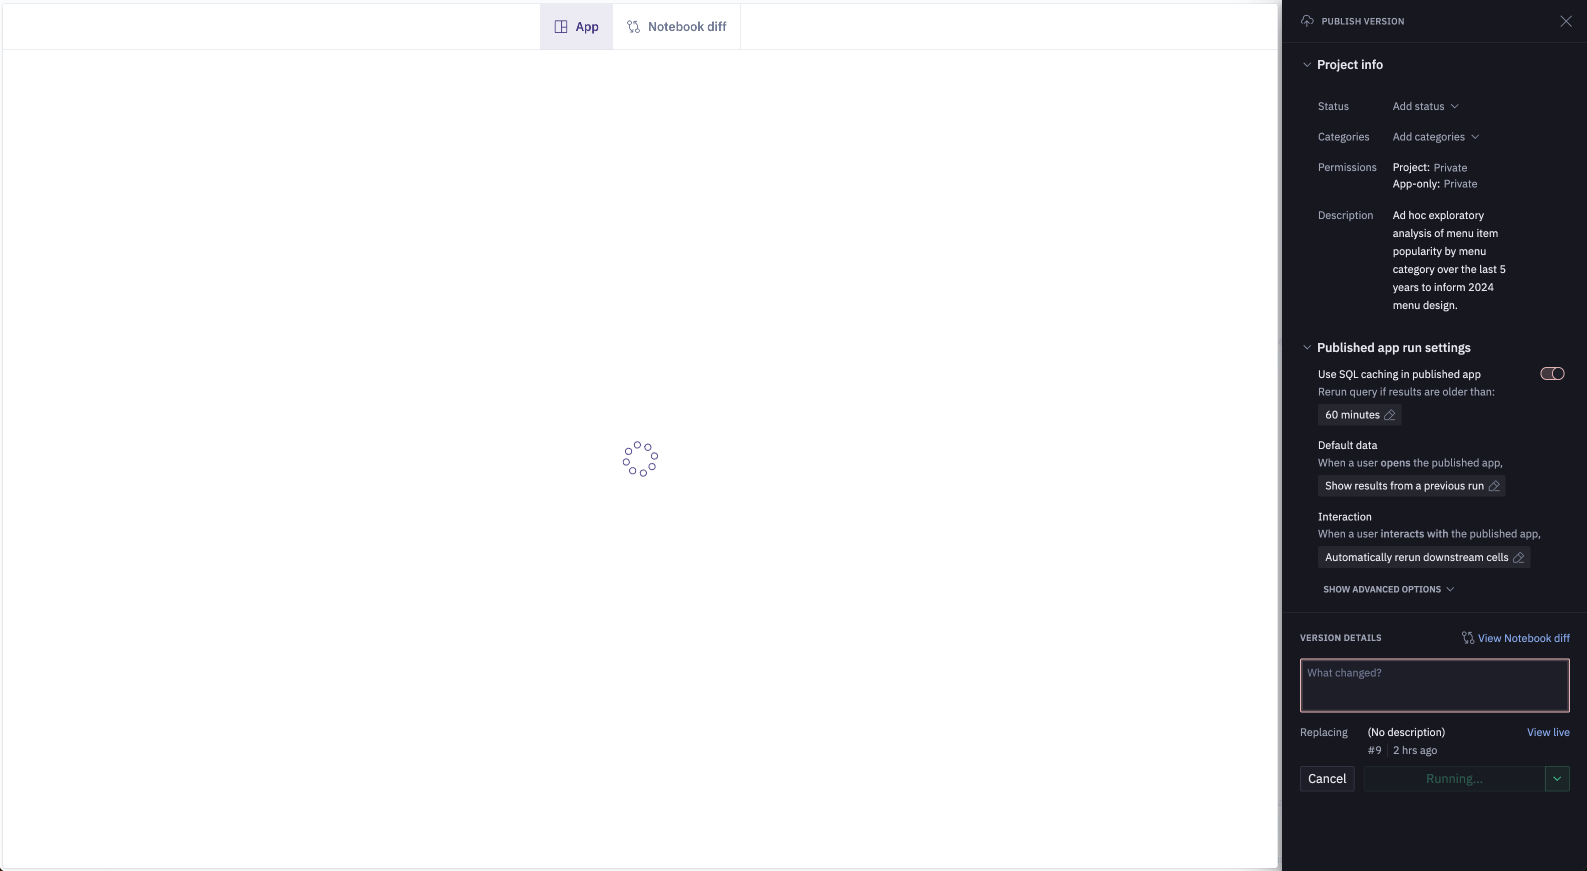
When the run is complete, the button will update to say Publish version.

You can use the Publish preview to see what your App will look like after you publish, and to view a diff with your previous published version. You can also view and revert to past versions of a project using the Version control dialog.
Clicking the Publish version button on the will publish the latest version of your project and make it available in your App.
Troubleshooting errors
If you see an error in the Publish preview that you're not seeing in your Notebook view, you may need to Restart and run all from your Notebook view.
Apps and Publish previews always run every cell in your Notebook top-to-bottom with a new kernel. So if you have any now-deleted variables lingering in your personal kernel, it may lead to errors in the new kernel. If you consistently seeing errors when publishing, but not when performing a Restart and run all from the notebook, reach out to our support team for assistance.
Publish without previewing
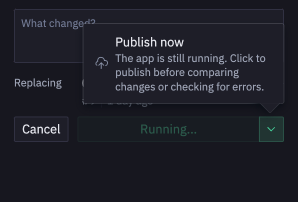
We recommend waiting for your Publish preview to finish running and verifying that there are no errors before publishing. However, if you are confident that the latest version contains only minor changes that you don't need to preview, you can click the down arrow next to the Running... button and click Publish now.
The Publish now option forces the app to publish without waiting for the run to complete in the publish dialog. Note that this will not kill the run that has been kicked off; it will simply allow you to publish and exit the publish dialogue before the run completes.
By using Publish now you reliquish your opportunity to review any possible errors in your project before they are published to your live App.
Share your App
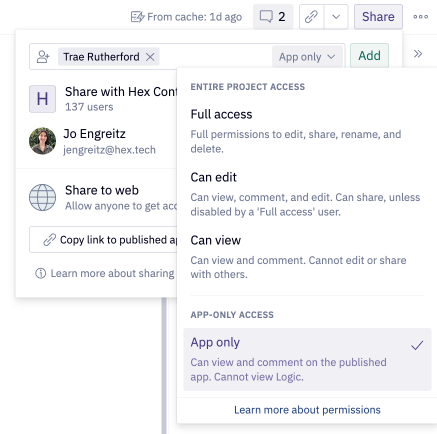
Publishing your project does not grant anyone access to it. To share your App with someone you must grant them project permissions from the Share dialogue.
You can grant access to only the published App by granting Can View App project permissions. Granting Can Explore, Can Edit, or Full Access project permissions will also grant access to the published App.
Presentation mode
- Presentation mode is available on Professional, Team, and Enterprise pricing plans.
Presentation mode allows you to share your published app in full screen.
Apps with tabs will render a title slide, with each tab as a separate slide. Apps without tabs will render as a single page.
To enter presentation mode, use the cmd + . shortcut, or the button in the top right corner of the app.

Use the left and right arrow keys to navigate between slides, or the buttons at the bottom of the slide.
To exit presentation mode, use the esc key.
Distribute a link to your App
You can generate and distribute a link to your App to help others quickly find and view a specific view of your App.
Links to Apps do not grant access, so you'll need to first Share your App.
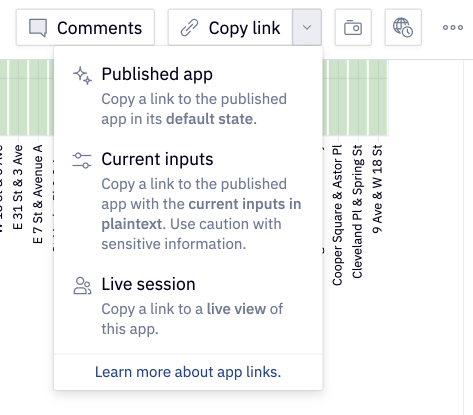
There are three options for App links:
- Published app links route users to the default published App.
- Current inputs links route users to your published App with the input parameter values that you are currently viewing.
- Collaborative session links route users to a shared, multiplayer session of the published App where any changes any user makes to the App will update in realtime for all collaborative session viewers.
Published app link
This option generates a link to your published app with all input parameters set to their default values and copies it to your clipboard. Any changes you may have made to any input values on the published App will not be passed to the Published app link.
Collaborative session link
This option both (1) refreshes your published App session to be a collaborative, multiplayer session and (2) generates and copies to your clipboard a unique link to the new collaborative session.
You can distribute this link to let others join the collaborative session. Anyone with the link will see the exact same view of the App, including real-time changes made by any user viewing the collaborative app session.
For example, if you and your colleauge are both viewing a collaborative session and you update an input parameter on the App, your colleague will immediately see the App run and update to reflect the input you changed.
Current inputs link
This option generates and copies to your clipboard a link to the App with the current values of all input parameters specified as URL parameters.
You can distribute this link to show others the App with specific inputs applied.
When someone clicks through a Current inputs link, they will start a new App session. Once the app has loaded, the input parameter values specified in the link URL parameters will be removed from the URL. This allows the user to explore the App from the baseline set of input parameter values.
Manually specify input parameter values as URL parameters
If preferred, you can manually construct an App URL with specific input parameter values by specifying input parameter values as URL parameters. However, you must ensure that each URL parameter matches the required syntax for each input type, as described below. If an invalid URL parameter is passed that parameter will be ignored.
Input parameters are referenced in the URL via their corresponding python variable name, prefixed with an underscore, e.g. https://app.hex.tech/\{workspace_id\}/hex/\{project_id\}/latest?_\{variable_name\}=\{variable_value\}. You can pass multiple input parameter values as URL parameters by appending parameters to a published app URL after a ?, and separating each parameter with a &.
When specifying an input parameter value inside of an embed src string, you'll need to UTF-8 encode the parameter value. This includes using the UTF-8 character for double quotes, %22, instead of double quotes.
| Input parameter | Example URL parameter | Notes |
|---|---|---|
| Checkbox | /latest?_input_checkbox=false | true/false are the only accepted values |
| Run button | /latest?_input_button=true | true/false are the only accepted values |
| Dropdown | /latest?_input_dropdown=42 | Strings must be wrapped in quotes. |
| Multi-select | /latest?_input_multiselect=["b",99] | Values must be passed as a JSON-encoded array. Strings must be wrapped in quotes. |
| Number | /latest?_input_number=123.456 | |
| Slider | /latest?_input_slider=4 | If a value outside of the Slider's defined range is provided the default value is used instead. |
| Text | /latest?_input_text="It is a truth universally acknowledged..." | Strings must be wrapped in quotes. |
| Date - no time | /latest?_input_date_only="2021-07-13" | Dates must be passed with a "YYYY-MM-DD" format |
| Datetime - with timezone | /latest?_input_datetime_tz="2021-07-13 13:45:22 America/Chicago" | Datestimes with a timezone must be passed with a "YYYY-MM-DD HH:MM:SS {timezone name}" format |
| Datetime - without timezone | /latest?_input_datetime="2021-07-13 13:45:22" | Datetimes without timezone information default to UTC, must be passed with a "YYYY-MM-DD HH:MM:SS {timezone name}" format |
| Relative date - with timezone | /latest?_relative_date_tz="7 days ago America/Chicago" | Relative dates with a timezone must be passed with a format of: {number} [day(s), month(s), year(s)] [ago, from now] {timezone name} and wrapped in quotes. |
| Relative date - without timezone | /latest?_relative_date="5 months from now" | Relative dates without a timezone must be passed with a format of: {number} [day(s), month(s), year(s)] [ago, from now] and wrapped in quotes. |