Connect to Snowflake
Securely connect your Hex workspace to your Snowflake data warehouse.
- Users need the Admin workspace role to create a shared workspace data connection.
- Users need Can Edit or higher project permissions to create project data connections.
If you have a lot of data and want to keep throwing it into a data warehouse, Snowflake is a tried and tested solution. They continue to push the boundaries of SQL and analytics features and their data sharing features between organizations are particularly strong for larger enterprises.
Compared to Redshift, Snowflake has a more modern architecture with decoupled storage and compute that can scale to larger datasets more easily. This architecture is also much easier to manage with more flexibility over how much compute you use and fewer required decisions over how you lay out data.
How to get set up
- Sign up for a Snowflake account if you don't already have one.
- Create a Snowflake user for usage by Hex.
- Set up keypair authentication for your Snowflake user. See Snowflake documentation on key pair authentication.
- In Hex, go to Settings → Data sources.
- Click + Connection, select Snowflake, and fill out the fields below.
Basic settings
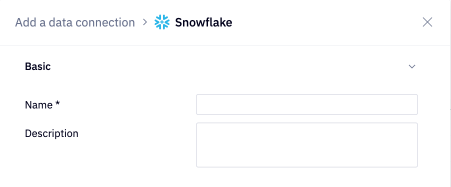
- Name and Description - Set a display name and optional description to help identify your data connection.
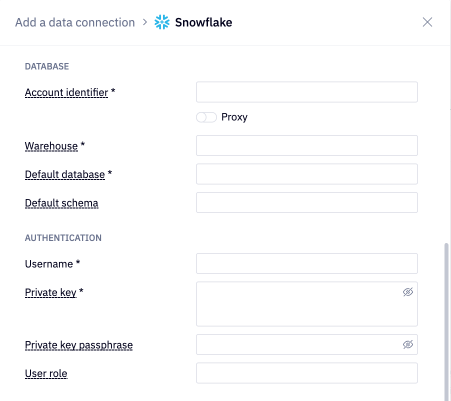
- Account identifier - Your Snowflake account identifier (instructions to locate). which can be found in the Snowflake URL, e.g.
account_identifier.snowflakecomputing.com. If connecting via a proxy, specify the full proxy address and check the "proxy" box. - Warehouse (optional for OAuth) - Specifies the warehouse used to execute queries. If left blank, a default warehouse must be set for the user, which will then be used.
- Default database (optional) - Specifying a default database allows you to reference schema and table names in your queries without needing to type the database name.
- Default schema (optional) - Specifying a default schema allows you to reference table names in your queries without needing type the schema name.
- Username - The username for the Snowflake user created for usage by Hex.
- Private key - Must be a PEM encoded PKCS8 private key. Copy and paste the entire contents of your private key file.
- Private key passphrase (optional) - Must match the passphrase of the private key. Leave this blank if no passphrase is set.
- User role (optional) - If not specified, this will default to the Snowflake User's default role, if one exists.
Paste the entire multi-line private key, including "-----BEGIN PRIVATE KEY-----" and "-----END PRIVATE KEY-----", in the Private Key box.
As of April 2025, Snowflake will begin the first phase of enforcing mandatory multi-factor authentication on top of username & password.
Existing data connections authenticated using username & password authentication will fail once mandatory MFA is enabled for all Snowflake account types. To ensure seamless user access to Hex, it is highly recommended to switch to Key Pair authentication (username + private key).
Additional settings
The data connection form includes several optional sections:
- Advanced - Optional settings like custom SQL formatting and including schema data for AI.
- Access - Optional data connection permissions.
- Schema browsing - Recommended settings like scheduling schema browser refreshes and schema filtering, both of which are recommended for performance and AI agent accuracy.
If you use a firewall to restrict database access, you'll need to add Hex's IP addresses to your allowlist.